Spur Gear Description
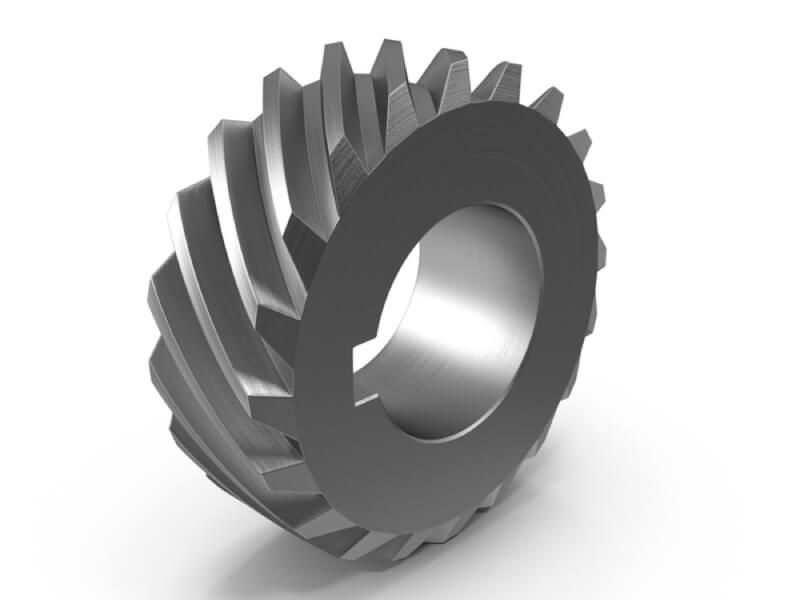
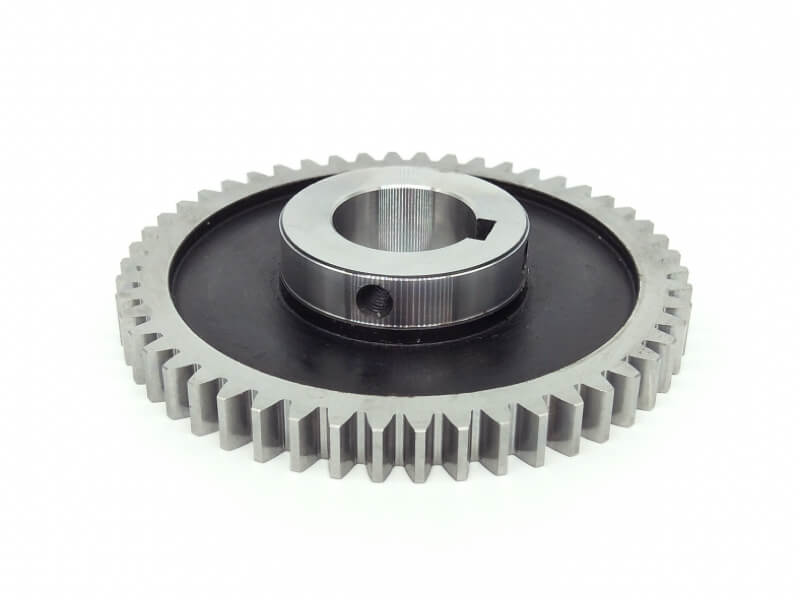
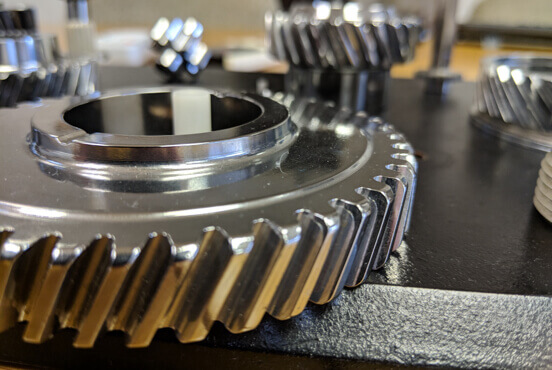
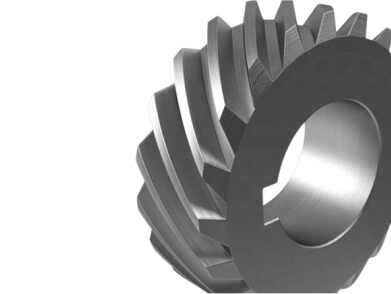
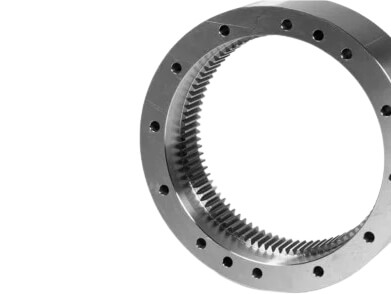
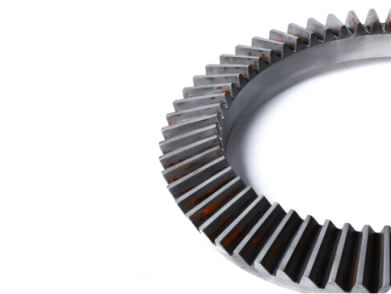
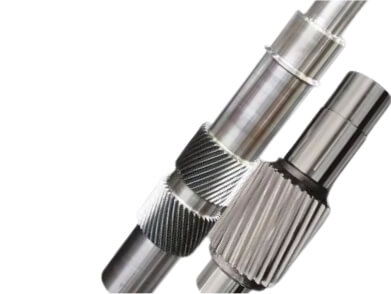
Spur gears are one of the most fundamental and widely used types of gears in mechanical engineering and machinery. Characterized by their cylindrical shape and straight, parallel teeth that are aligned with the gear’s axis, spur gears play a crucial role in transmitting motion and torquSpur Gear Descriptione between shafts.
Spur gears have straight teeth and are the most common type of gear. They are used to transmit motion between two parallel shafts and are known for being highly efficient and producing a lot of power.
The interaction between spur gear teeth allows for efficient power transfer with minimal energy loss, making them ideal for high-speed applications.
Key Features
Straight Teet
The straight teeth engage directly, allowing for efficient power transmission.
Simplicity
Their straightforward design makes them easy to manufacture and maintain.
High Efficiency
Spur gears typically have high efficiency ratings, often exceeding 95%, due to minimal sliding friction.
YIZGEAR specializes in producing high precision, high quality gears in a wide range of sizes and volumes. Our spur gears can be manufactured to standard or custom specifications using precision gear grinding and gear cutting methods.
Manufacturing Method of Spur Gear
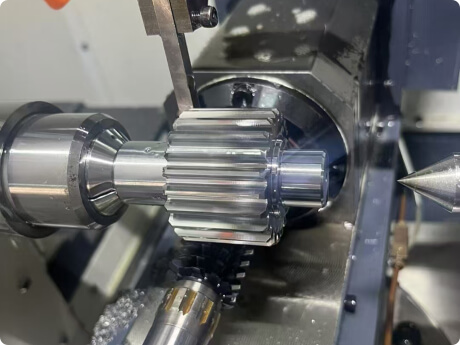
Gear Hobbing
Description: A gear cutting process that uses a hob (a specialized cutting tool) to shape the gear teeth.
Advantages: Suitable for high-volume production; efficient and cost-effective for manufacturing gears with complex tooth profiles.
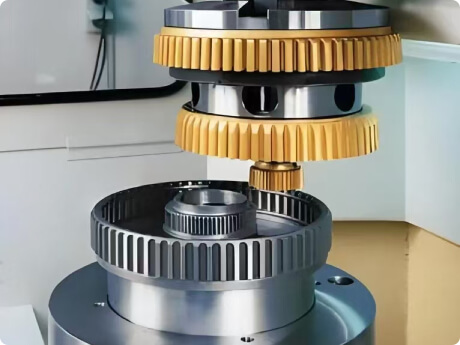
Gear Shaping
Description: Involves a shaping machine that uses a reciprocating cutter to remove material and form the gear teeth.
Advantages: Can produce gears of various sizes and tooth profiles; effective for low-volume runs and custom gears.
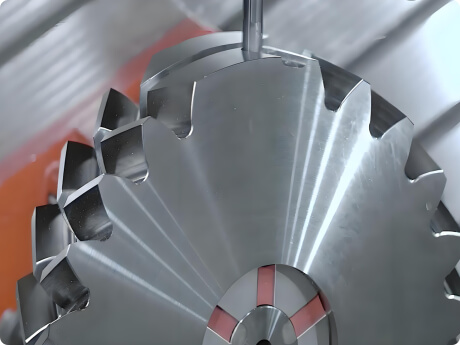
Gear Milling
Description: Uses a milling machine to cut the gear teeth. This method is often used for smaller gears or specialized shapes.
Advantages: Versatility in producing different gear types and sizes; can be used for both prototype and production runs.
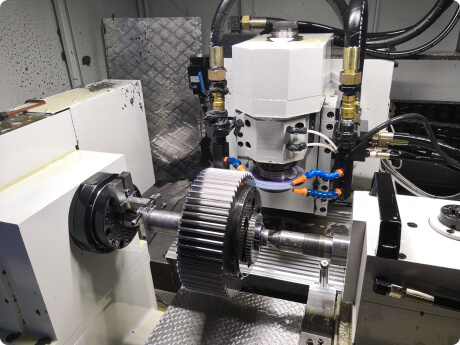
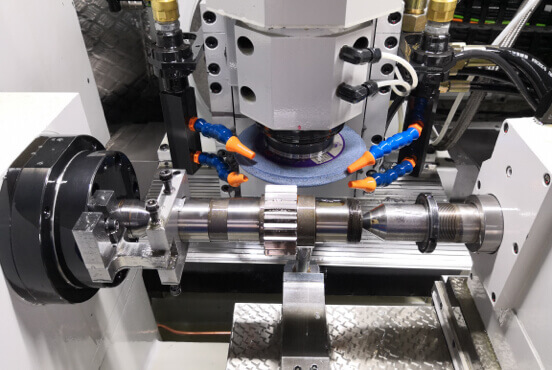
Gear Grinding
Description: Involves using a grinding wheel to refine the tooth profile and achieve precise dimensions and surface finishes.
Advantages: Provides high accuracy and smooth surface finishes; often used as a secondary process after hobbing or shaping.
Common Steel Code
Grades Comparison
| CHINA/GB | ISO | ROCT | ASTM | JIS | DIN |
| 45 | C45E4 | 45 | 1045 | S45C | CK45 |
| 40Cr | 41Cr4 | 40X | 5140 | SCr440 | 41Cr4 |
| 20CrMo | 18CrMo4 | 20ХМ | 4118 | SCM22 | 25CrMo4 |
| 42CrMo | 42CrMo4 | 38XM | 4140 | SCM440 | 42CrMo4 |
| 20CrMnTi | 18XГT | SMK22 | |||
| 20Cr2Ni4 | 20X2H4A | ||||
| 20CrNiMo | 20CrNiMo2 | 20XHM | 8720 | SNCM220 | 21NiCrMo2 |
| 40CrNiMoA | 40XH2MA/ 40XHMA | 4340 | SNCM439 | ||
| 20CrNi2Mo | 20NiCrMo7 | 20XH2MA | 4320 | SNCM420 | |
| 17CrNiMo6 | |||||
| 18CrNiMo7 |
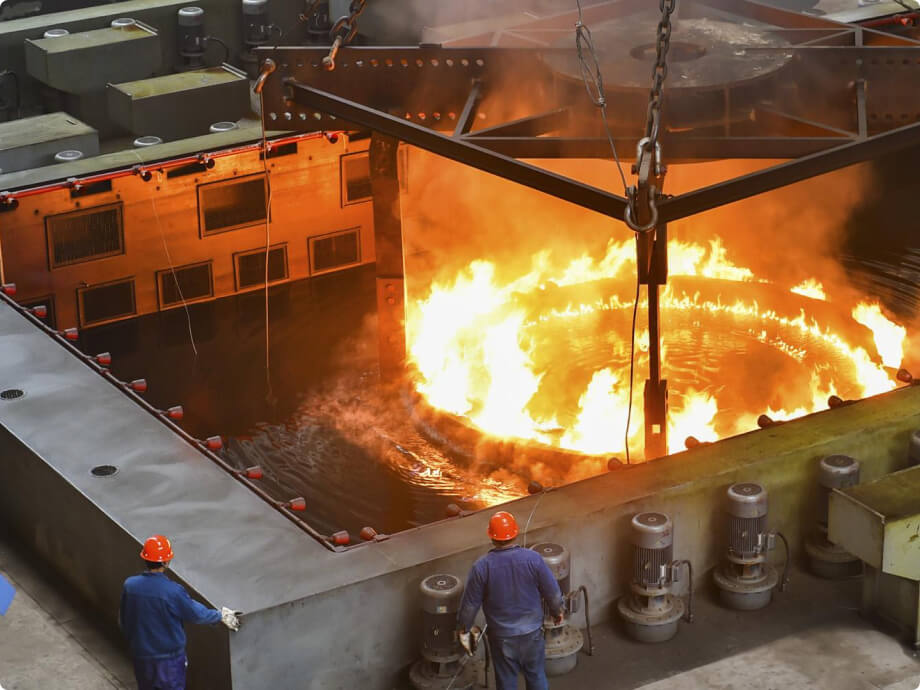
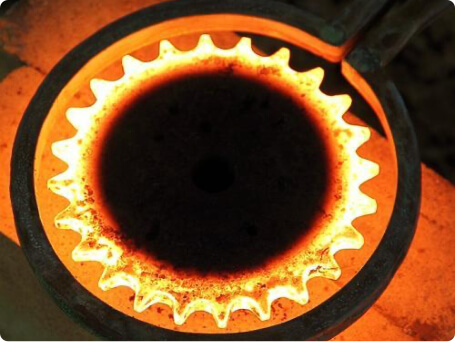
Common Heat Treatment Process
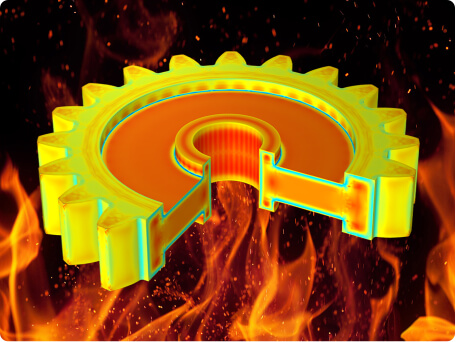
Heat treatment is a controlled process used to alter the physical and sometimes chemical properties of materials, particularly metals. It can enhance properties such as hardness, strength, toughness, and ductility. Here are some common heat treatment processes:
01
Straight Teet
Purpose
To soften the material, improve ductility, and relieve internal stresses.
Process
To soften the material, improve ductility, and relieve internal stresses.
02
Quenching
Purpose
To increase hardness and strength.
Process
Heating the metal to a high temperature and then rapidly cooling it in water, oil, or air. This process can induce stresses in the material.
03
Tempering
Purpose
To reduce brittleness after quenching and improve toughness.
Process
Heating the quenched metal to a lower temperature (below its critical point) and then cooling it, which allows for some of the internal stresses to be relieved.
04
Normalizing
Purpose
To refine the grain structure and enhance mechanical properties.
Process
Heating the steel above its critical temperature and allowing it to cool in air. This results in a uniform microstructure.
05
Hardening
Purpose
To increase hardness and wear resistance.
Process
Involves quenching, followed by tempering to achieve desired hardness levels, commonly applied to tool steels.
06
Case Hardening
Purpose
To harden the surface of a material while maintaining a softer, ductile core.
Process
Methods include carburizing (adding carbon) or nitriding (adding nitrogen) to the surface layer, followed by quenching.
Manufacturing Capacity of Spur Gear
| Item | Description |
| Gear Type | Spur Gear |
| Module (m) | Max 35 |
| DP | 0.75 |
| Pressure angle(α) | 20 Deg/14.5 Deg |
| Helix angle(β) | Max 35 Deg |
| Number of teeth(z) | |
| Facewidth(b) | 800mm |
| Profile shift coefficient(x) | Customized |
| Reference diameter(d) | Customized |
| Tip diameter(da) | Max 8 Meter |
Quality Control of Spur Gear
Quality control is essential in the manufacturing of spur gears to ensure they meet specified standards and function effectively in their applications. The following are key aspects and methods used in the quality control process for spur gears:

