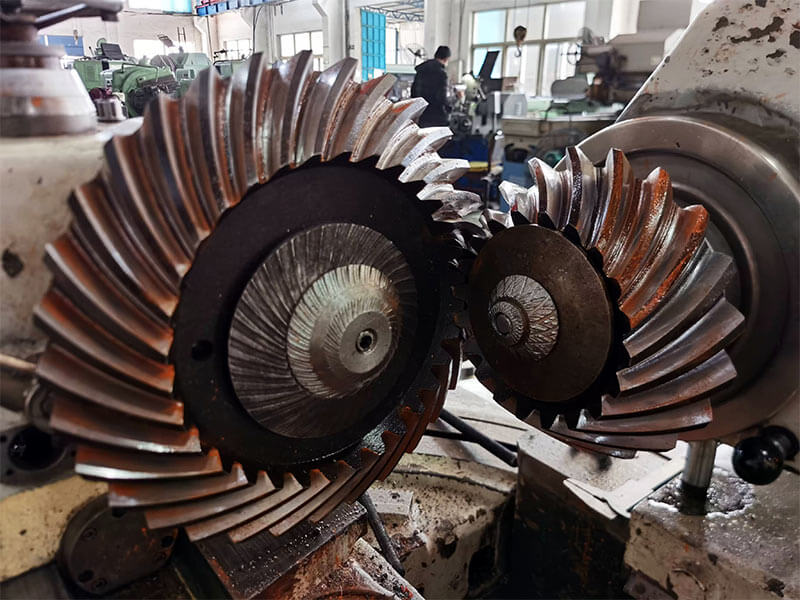
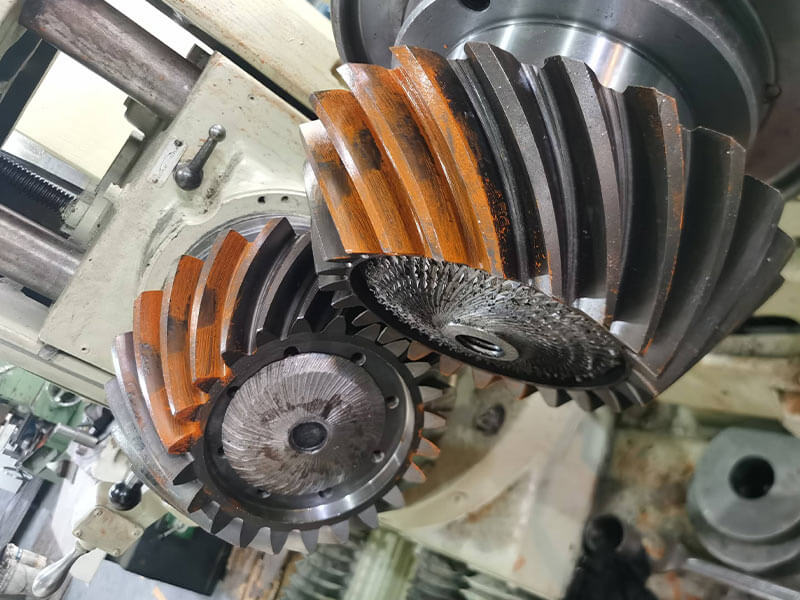
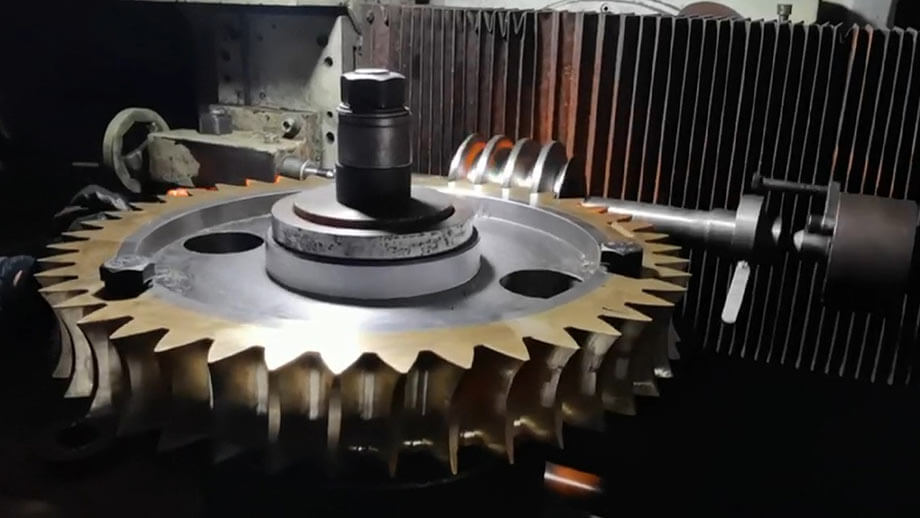
The foundation of gear inspection begins with routine shop floor tasks and extends to the manufacturing laboratory for complex analytical evaluations. These procedures are critical to maintaining process control and producing parts that meet quality requirements. Inspection includes gear dimensions, tooth shape, tooth pitch, surface roughness, and tooth contact accuracy.
Dimensional inspection is the foundation of gear inspection, and its primary purpose is to ensure that the tooth thickness and diameter of the gear meets the design requirements. Modern CNC Gear Measuring Machines can perform runout inspection in a fully automated cycle, ensuring minimal change in rotational motion. Composite inspection is a method of assessing the quality of gears by rolling a working gear in close double tooth contact with a standard gear. Tooth profile inspection is concerned with the curved shape of a gear tooth, especially the functional part from the root to the top of the tooth. Pitch detection is used to ensure the correct distribution of gear teeth on the circumference. Single-face inspection simulates the operation of an actual gear and can measure tooth conjugation, pitch variation, run out and cumulative pitch variation.
For more information about our gear inspection operations, please contact us.


